
DIY Parking Lot Striping: What You Need to Know Before You Start


Understanding the Basics of Parking Lot Striping
Parking lot striping is an essential aspect of maintaining a safe and organized parking area. Clear, visible lines help direct traffic flow, designate parking spaces, and ensure compliance with legal regulations. For those interested in taking on a DIY project, understanding the fundamentals can save time and money, while also enhancing the overall appearance of your property.
Gathering the Right Materials and Tools
Before starting your striping project, it’s crucial to gather all necessary materials and tools. You’ll need high-quality paint specifically designed for pavement, a striping machine or applicator, measuring tape, chalk or a string line for marking, and stencils for any symbols or letters. Make sure to choose paint that is durable and capable of withstanding weather conditions and heavy traffic.
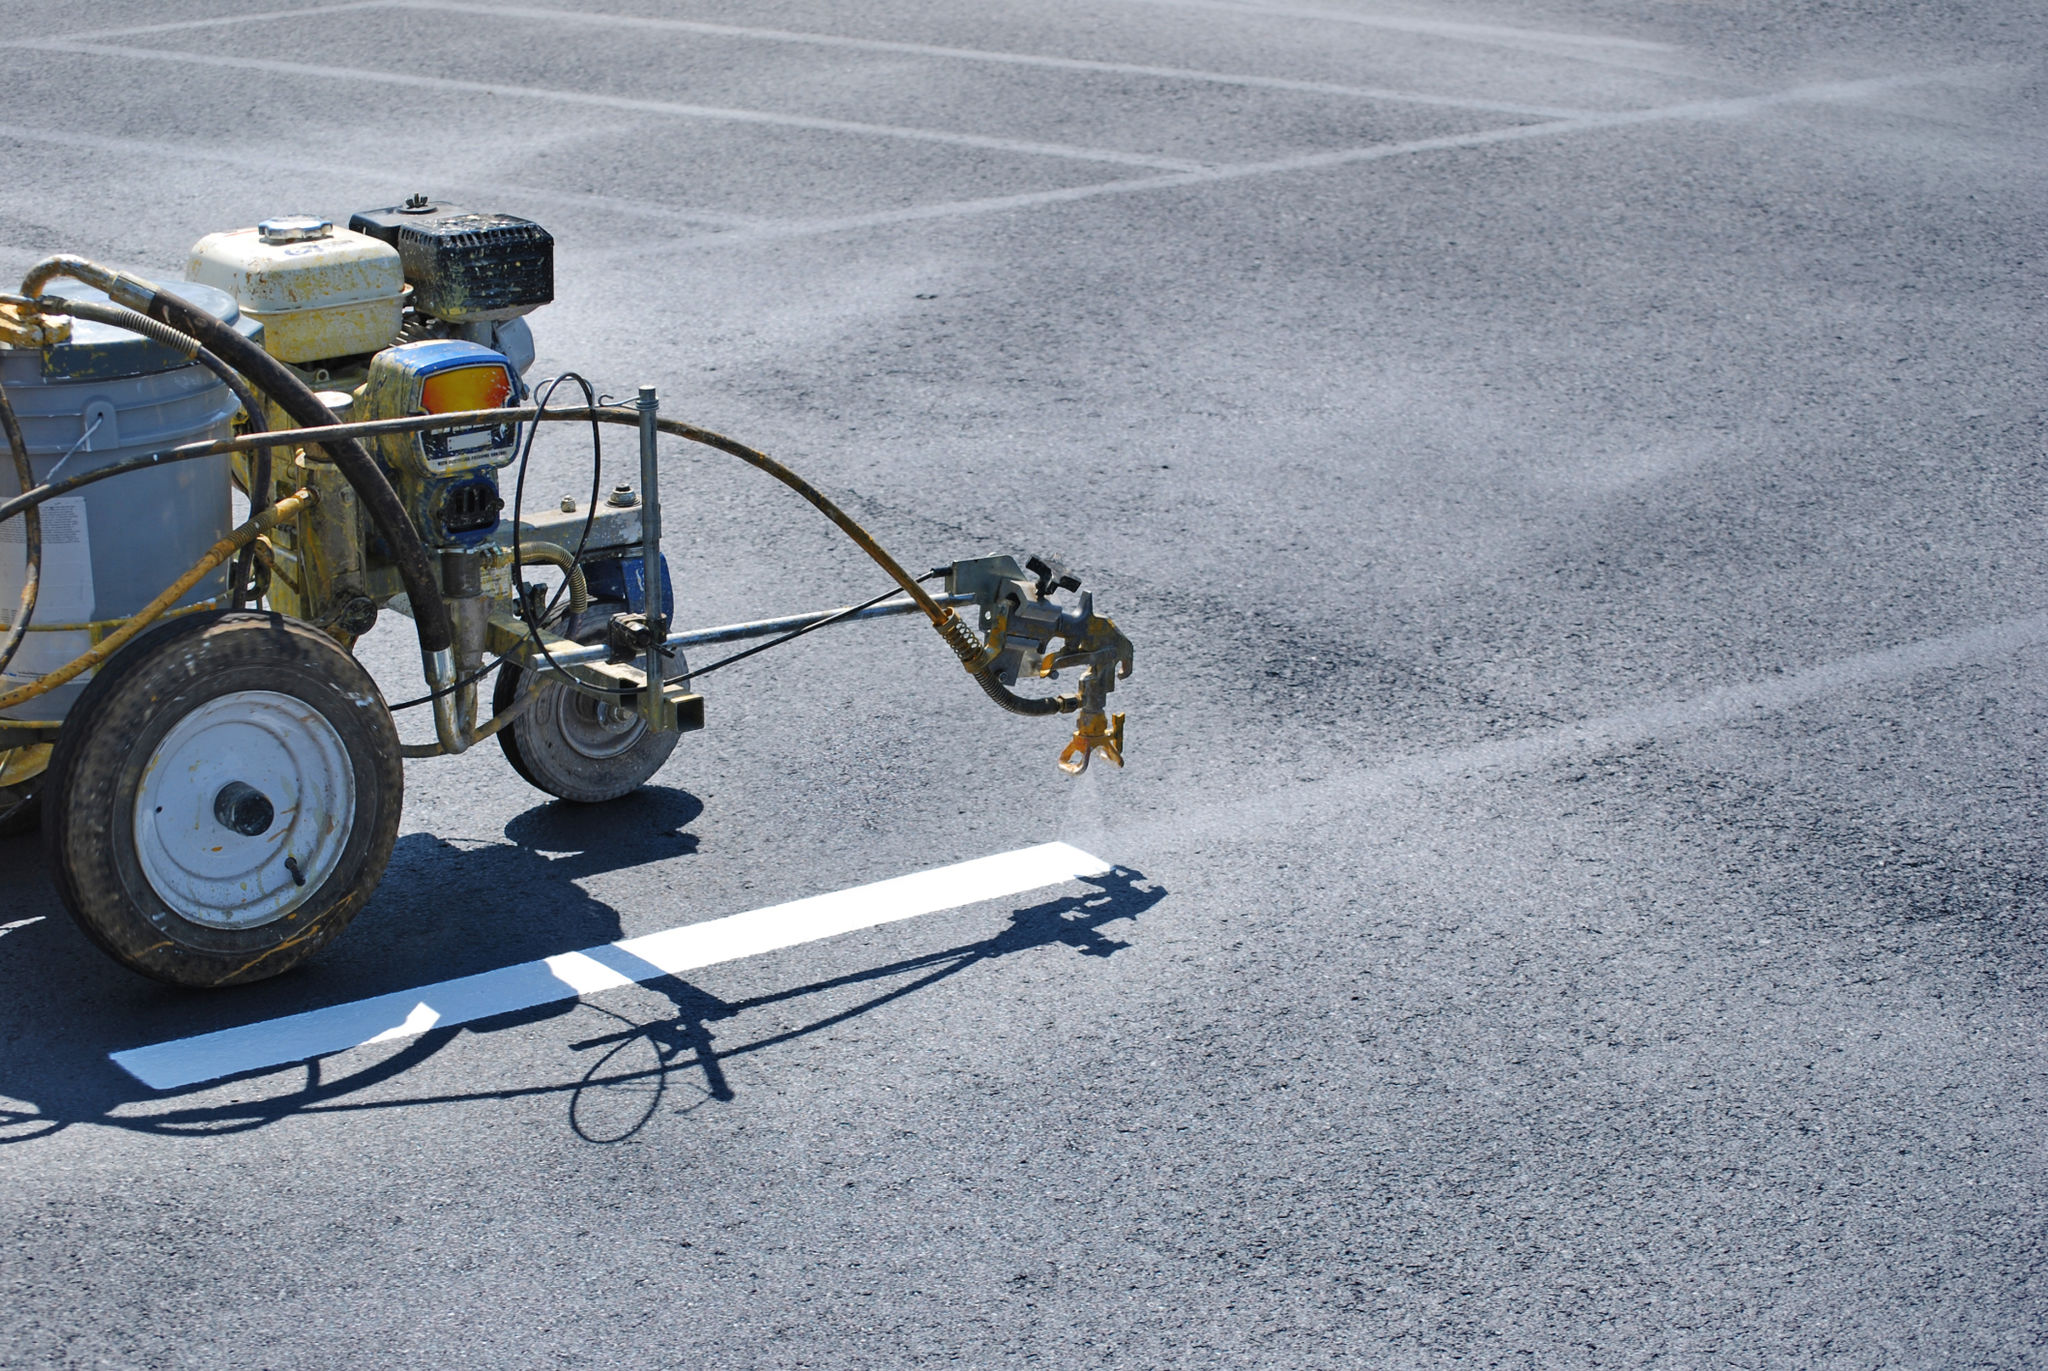
Investing in a striping machine can significantly improve the precision and efficiency of your work. These machines come in various types, from simple handheld models to advanced motorized versions. Consider the size of your parking lot to determine the best fit for your needs.
Preparing the Surface
Preparation is key to a successful striping job. Begin by cleaning the parking lot surface thoroughly to remove dirt, debris, and oil stains. This ensures that the paint adheres properly and lasts longer. For surfaces with existing lines, you may need to remove old paint using a pressure washer or chemical paint remover.

After cleaning, inspect the surface for any cracks or damages. Repairing these issues before striping will prevent further deterioration and create a smooth, professional finish. Once the surface is clean and repaired, allow it to dry completely before proceeding to the next step.
Planning Your Layout
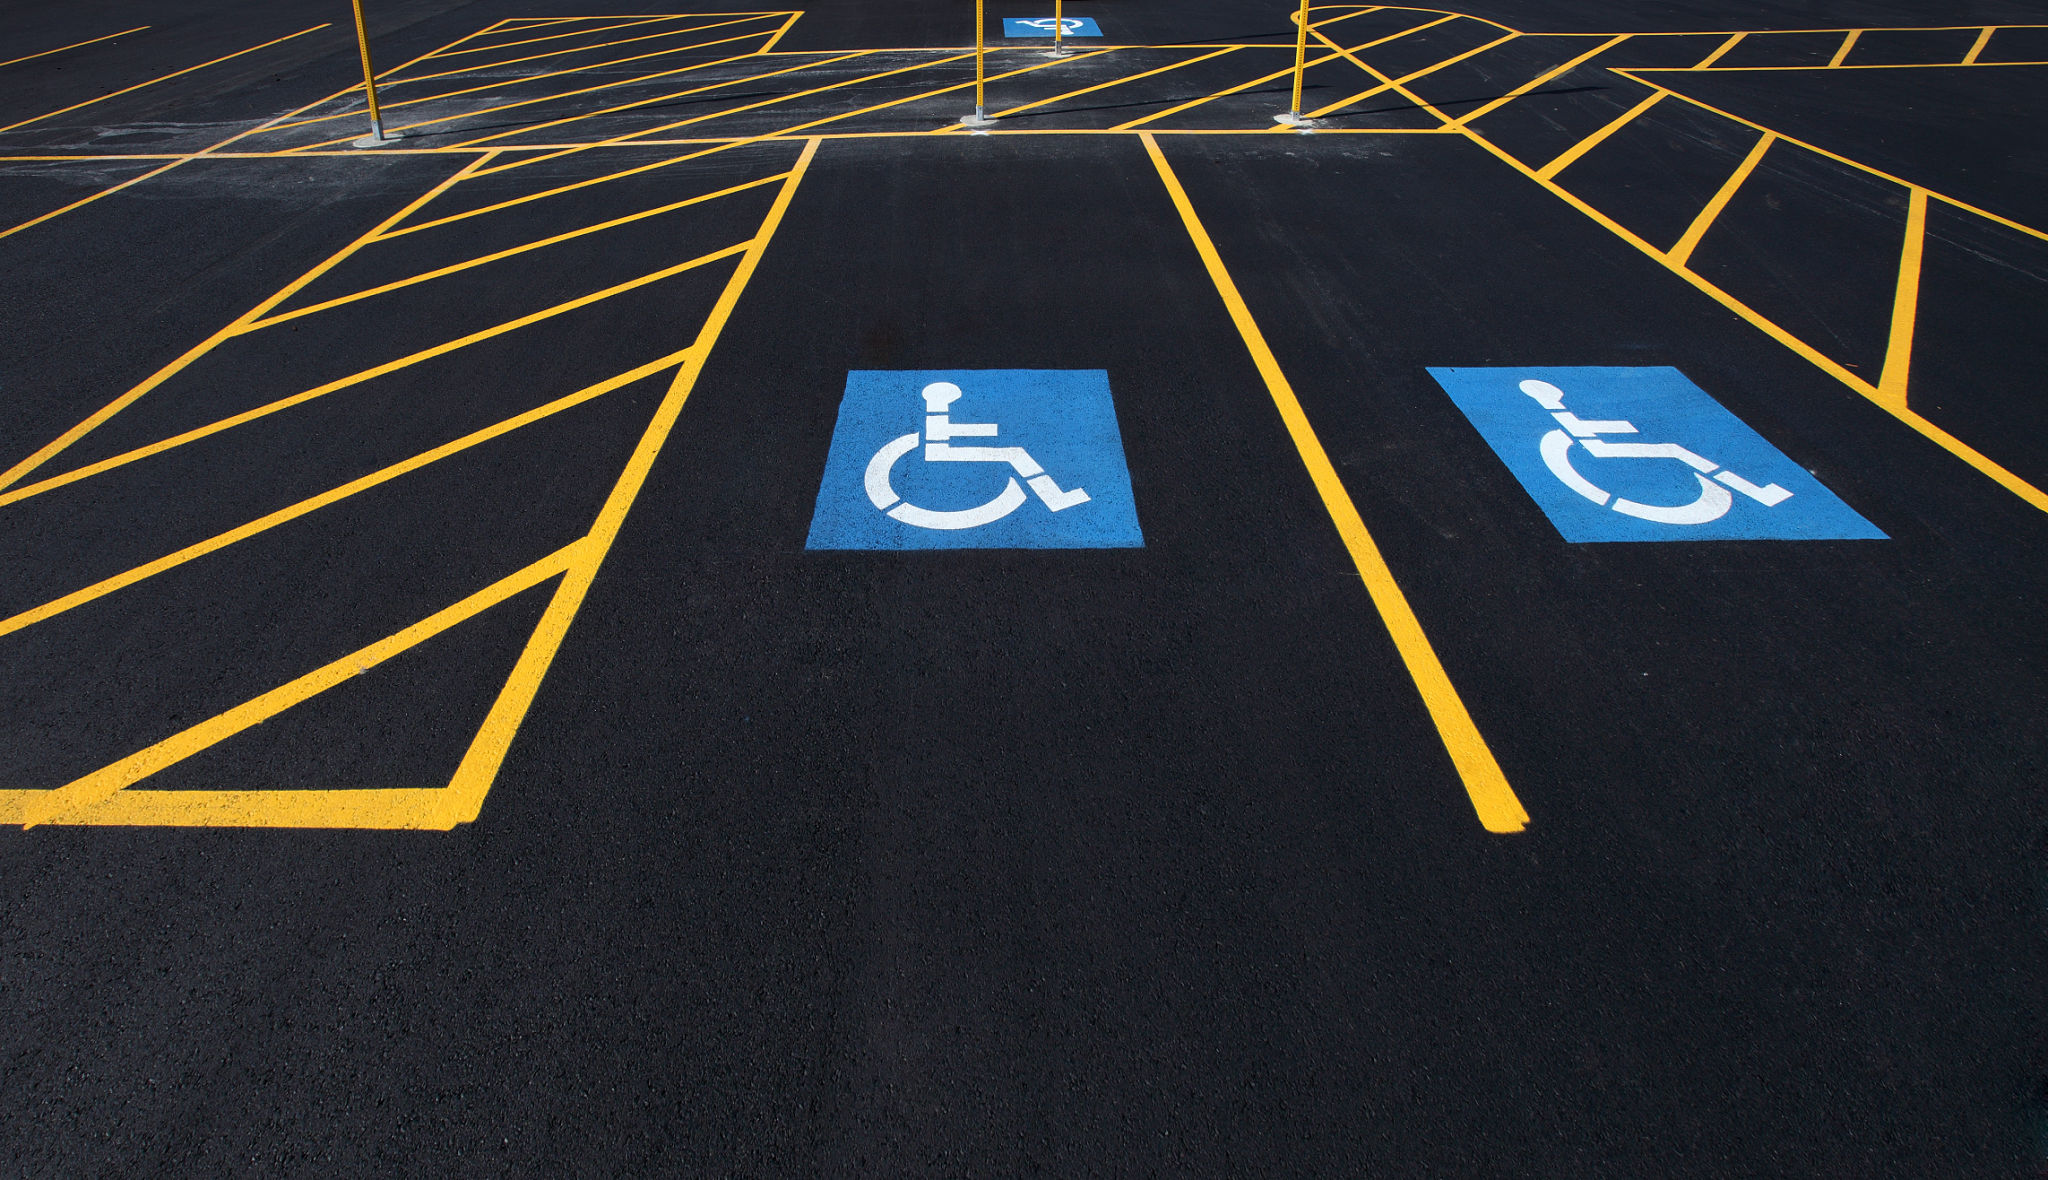
A well-thought-out layout is essential for maximizing space efficiency and ensuring compliance with legal requirements. Begin by measuring the entire area and marking key points with chalk or string lines. Pay attention to local regulations regarding the size and number of handicapped-accessible spaces, fire lanes, and loading zones.
- Determine the width and length of each parking space.
- Consider the flow of traffic and plan for entry and exit points.
- Include necessary signage or symbols such as arrows or handicap icons.
Applying the Paint
With your layout planned and surface prepared, it’s time to start painting. Follow the manufacturer’s instructions on your striping machine for optimal results. Begin by painting the perimeter lines and then fill in the individual spaces. For best results, apply two coats of paint allowing ample drying time between each coat.
Take your time when applying paint to ensure straight lines and consistent spacing. If using stencils for symbols or letters, secure them firmly to prevent smudging or bleeding. Remember that patience and precision are your best allies in achieving a professional look.
Maintaining Your Parking Lot
Once completed, regular maintenance will help preserve the appearance and functionality of your parking lot. Periodically inspect the lines for fading or damage and consider re-striping every 1-2 years depending on traffic volume. Additionally, keeping the surface clean can prolong the life of your paint.
By following these guidelines, your DIY parking lot striping project can be a successful endeavor that enhances both safety and aesthetics. With careful planning, quality materials, and attention to detail, you can achieve professional results without breaking the bank.